ut_automata
#
Table of Contents
JetPack on Nvidia DevKit
JetPack on ConnectTech Orbitty Carrier
CUDA + PyTorch
ROS 2
Optional Tools
You will require an xUbuntu 18.04 computer to run the Nvidia SDK Manager. As of the time this documentation was written, sdkmanager is incompatible with 20.04, but it can be run under a VMWare Workstation Player virtual machine running 18.04 - you just need to connect the Jetson USB device to the VM
JetPack on Nvidia DevKit
- Run
sdkmanageron the host computer, and select both “Host Machine” and “Jetson TX2” to download JetPack to the host. Select CUDA and additional packages as desired
Click next past Step 02, accepting the license along the way.
Select CUDA and additional packages as desired
Click next past Step 02, accepting the license along the way. - After Step 03 of the sdkmanager, the Jetpack image will be created, and it will ask you to connect the Jetson to the host computer:

- Connect the devkit using the microUSB OTG port on the devkit and enter recovery mode:
- Plug in the power cable to the devkit board, but do not power on yet.
- Press and hold the
REC(Recovery) button - Press and release the
POWERBTN(Power) button - Release the
RECbutton
- Select “Manual Setup” in the dropdown option list on the sdkmanager window, and click on the “Flash” button
- After JetPack is installed, connect the devkit to a monitor, keyboard and mouse, and complete the Ubuntu setup wizard.
- If you selected CUDA and additional packages in step 1, it will ask you for the IP address and login details of the devkit. Continue on to install CUDA + PyTorch
JetPack on ConnectTech Orbitty Carrier
- Do not connect the Jetson to your computer at this stage.
- Run
sdkmanageron the host computer, and select both “Host Machine” and “Jetson TX2” to download JetPack to the host.
Click next past Step 02, accepting the license along the way. - After Step 03 of the sdkmanager, the Jetpack image will be created, and it will ask you to connect the Jetson to the host computer:
- Click on “Skip” and confirm that you want to skip installation to the Jetson:

- At this point, you should see JetPack installed on your host computer at
~/nvidia/nvidia_sdk/:joydeepb@ubuntu:~$ cd nvidia/nvidia_sdk joydeepb@ubuntu:~/nvidia/nvidia_sdk$ ls -lthr total 8.0K drwxrwxr-x 4 joydeepb joydeepb 4.0K May 1 09:16 JetPack_4.5.1_Linux drwxrwxr-x 3 joydeepb joydeepb 4.0K May 1 09:19 JetPack_4.5.1_Linux_JETSON_TX2 - Go to the Connect Tech support page and download
the L4T support package into
<JetPack_install_dir>/JetPack_4.5.1_Linux_JETSON_TX2/Linux_for_Tegra/. For example:joydeepb@ubuntu:~$ cd nvidia/nvidia_sdk/JetPack_4.5.1_Linux_JETSON_TX2/Linux_for_Tegra/ joydeepb@ubuntu:~/nvidia/nvidia_sdk/JetPack_4.5.1_Linux_JETSON_TX2/Linux_for_Tegra$ wget https://connecttech.com/ftp/Drivers/CTI-L4T-TX2-32.5-V001.tgz --2021-05-01 09:14:59-- https://connecttech.com/ftp/Drivers/CTI-L4T-TX2-32.5-V001.tgz Resolving connecttech.com (connecttech.com)... 104.26.6.94, 172.67.72.40, 104.26.7.94, ... Connecting to connecttech.com (connecttech.com)|104.26.6.94|:443... connected. HTTP request sent, awaiting response... 200 OK Length: 519331075 (495M) [application/octet-stream] Saving to: ‘CTI-L4T-TX2-32.5-V001.tgz’ CTI-L4T-TX2-32.5-V001.tgz 100%[===================================================================================================================================>] 495.27M 15.5MB/s in 32s 2021-05-01 09:15:31 (15.4 MB/s) - ‘CTI-L4T-TX2-32.5-V001.tgz’ saved [519331075/519331075] - Extract the archive, and run the install script in the extracted directory:
joydeepb@ubuntu:~/nvidia/nvidia_sdk/JetPack_4.5.1_Linux_JETSON_TX2/Linux_for_Tegra$ tar xzf CTI-L4T-TX2-32.5-V001.tgz joydeepb@ubuntu:~/nvidia/nvidia_sdk/JetPack_4.5.1_Linux_JETSON_TX2/Linux_for_Tegra$ cd ./CTI-L4T joydeepb@ubuntu:~/nvidia/nvidia_sdk/JetPack_4.5.1_Linux_JETSON_TX2/Linux_for_Tegra/CTI-L4T$ sudo ./install.sh - Connect the Jetson to the host computer and enter firmware update mode:
- Connect the USB OTG port
- Press and hold the recovery button
- Press and release the power button
- Release the recovery button
- Now reflash the Jetson from the
Linux_for_Tegradirectory:joydeepb@ubuntu:~/nvidia/nvidia_sdk/JetPack_4.5.1_Linux_JETSON_TX2/Linux_for_Tegra$ sudo ./cti-flash.sh
CUDA and PyTorch
- Ensure that the Jetson is running, booted into Ubuntu, and accessible via the local network (e.g. WiFi)
from the host computer. Let the Jetson’s IP address on the local network be
192.168.10.100 - On the host computer, run
sdkmanager - Select “Jetson” as the product category, deselect Host Machine, Jetson TX2 as the Target Hardware, and select the correct JetPack version installed on the Jetson.
- On step 2, deselect “Jetson OS” from the list of components and select
CUDAand additional components:
- Manually enter the IP address of the Jetson computer, and the admin username and password:

- To install pytorch, follow the instructions here: https://forums.developer.nvidia.com/t/pytorch-for-jetson-version-1-8-0-now-available/72048
ROS 2
The current ut_automata code targets ROS 2 Jazzy. Install ROS 2 Jazzy using the official Ubuntu instructions:
https://docs.ros.org/en/jazzy/Installation/Ubuntu-Install-Debs.html
Jazzy targets Ubuntu 24.04. Older JetPack/L4T images for TX2-era hardware are based on Ubuntu 18.04 and are not a native Jazzy target; those systems will need either a newer supported platform image, a containerized build, or a different ROS 2 distribution matched to the OS.
After installing ROS 2, source the environment and build the workspace with colcon:
source /opt/ros/jazzy/setup.bash
cd ~/ut_automata_ws
colcon build --symlink-install
source install/setup.bash
Optional Tools
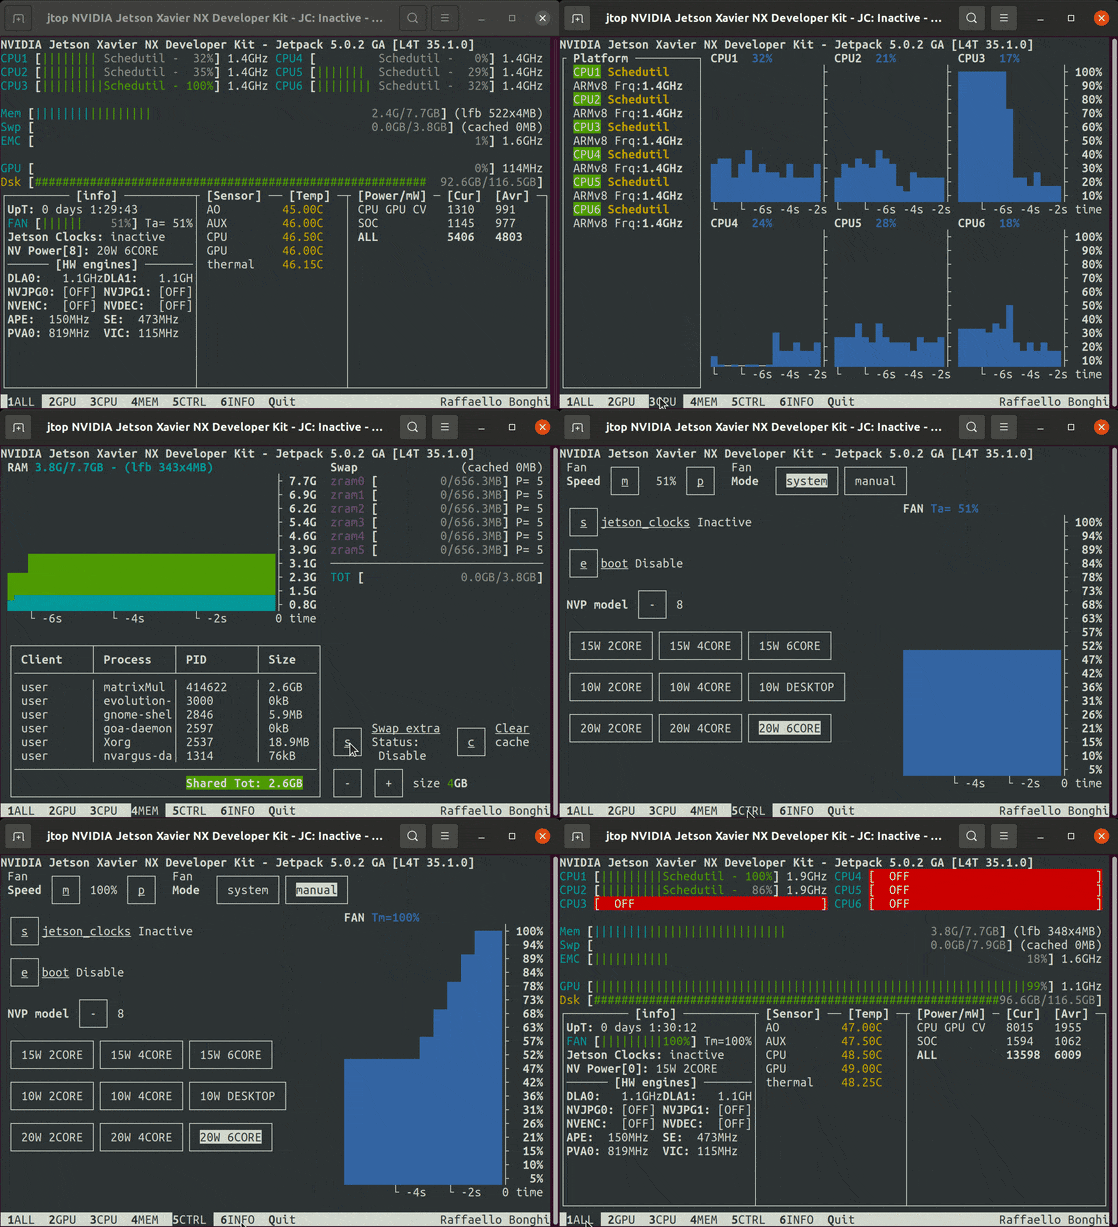
To monitor CPU and GPU usage, clone and install Jetson Stats